Getting Started - A guide for developers
This guide is meant to get you, as a developer, up and running with Rig as fast as possible, and will walk you through:
- Installing the Rig CLI
- Optionally installing the Rig Platform on your local machine
- Deploying your first Capsule.
Install the Rig CLI
While Rig comes with a beautiful dashboard, we additionally have a CLI that can be used to interact with the Rig Platform. It can be used both in a CI/CD pipeline, as well as local use for interacting with Rig, which is what we will do in this guide.
Homebew
Add the rig homebrew tap and install the CLI.
brew install rigdev/tap/rig
Binaries
Rig can be installed manually by downloading a precompiled binary and adding
it to your $PATH
Every GitHub release has prebuilt binaries for common platforms and architectures. Go to the releases page to find yours.
From source
Installation from source requires the go toolchain to be installed.
go install github.com/rigdev/rig/cmd/rig@v1.12.7
Optional: Install Rig on your local machine.
If you do not have a Kubernetes cluster with Rig running, and still want to see what Rig is all about, you can install Rig on your local machine. The rig cli comes with support for starting up a KIND cluster on your local machine. Run the following command:
rig dev kind create
And that's it, you're now ready to login on the dashboard at http://localhost:4747.
Deploy your first Capsule
Now that you have a configured Rig platform up and running, and you have installed the CLI, you are ready to deploy your first capsule. This will be a short introruction on how to deploy a containerized application to Rig using the CLI. Please refer to the Capsules Page, if you wish to dive deeper into the concept of capsules and how to interact with them in the dashboard.
In this step we will go through the process of deploying an Nginx Server to Rig using the CLI or the dashboard.
Initialize the Rig CLI
If you want to use the rig cli for this guide, you first need to initialize the CLI with your Rig platform.
In this step, we assume, that you already have a user - Either as a part the rig dev kind create command or through the dashboard.
rig config init
This will prompt you for a name for your config and the URL of your Rig platform (http://localhost:4747 if you are using the kind cluster). You can now login on your platform with:
rig auth login
Create a Project
Before we can create a capsule, we need a project for the Capsule to live in
- CLI
- Dashboard
rig project create nginx-project

Create a capsule
- CLI
- Dashboard
rig capsule create nginx-capsule
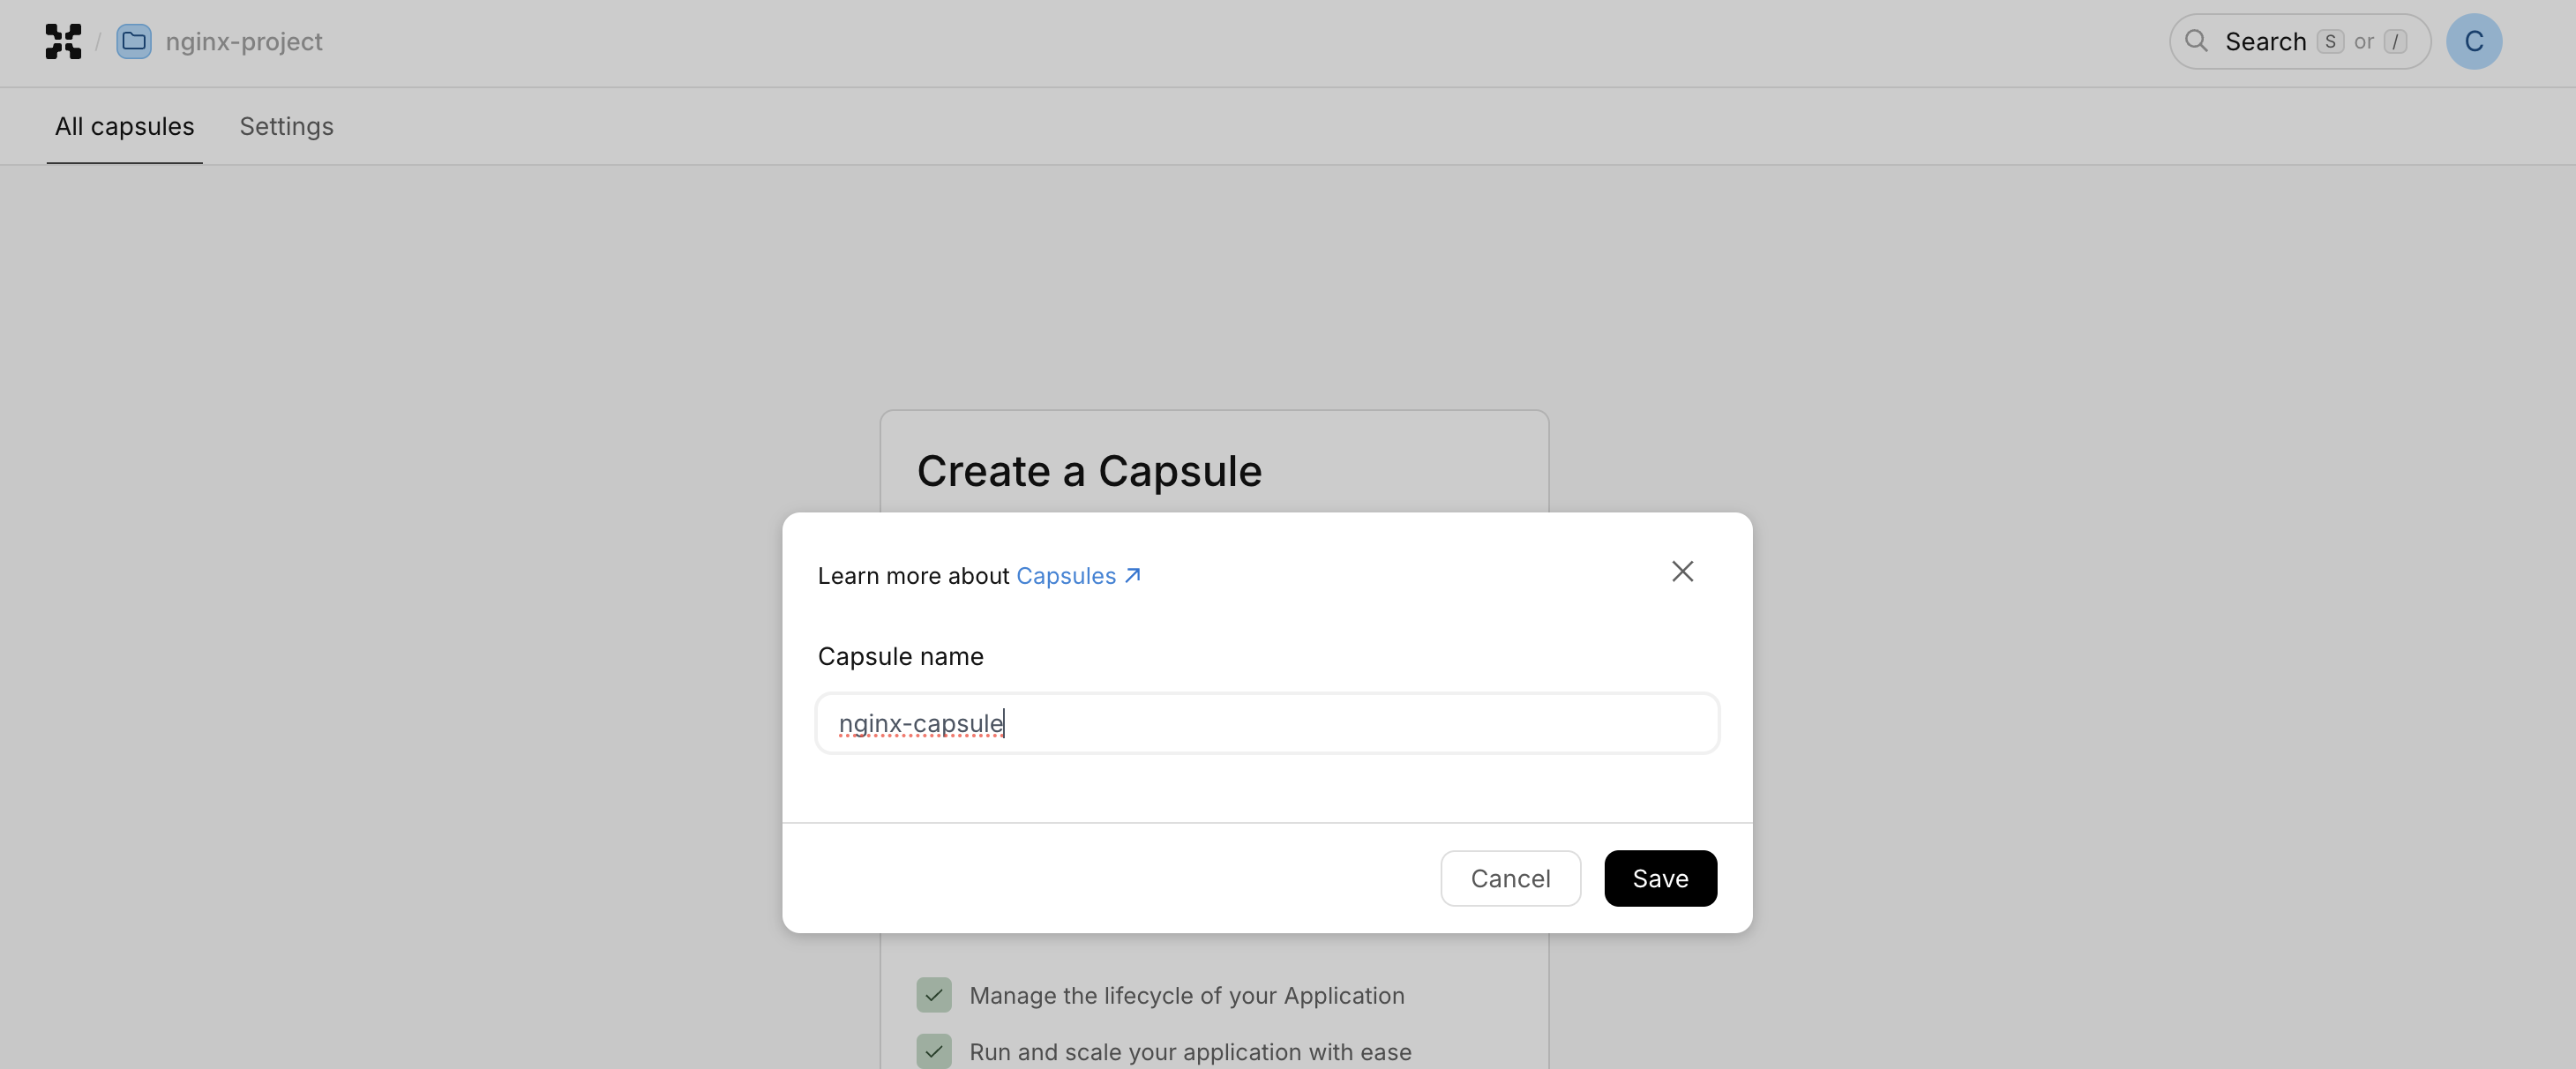
This will create an empty capsule called nginx-capsule with no additional resources.
Add and deploy an image
Next, we need to add and deploy the Nginx image to the capsule.
- CLI
- Dashboard
rig deploy nginx-capsule --image nginx:latest
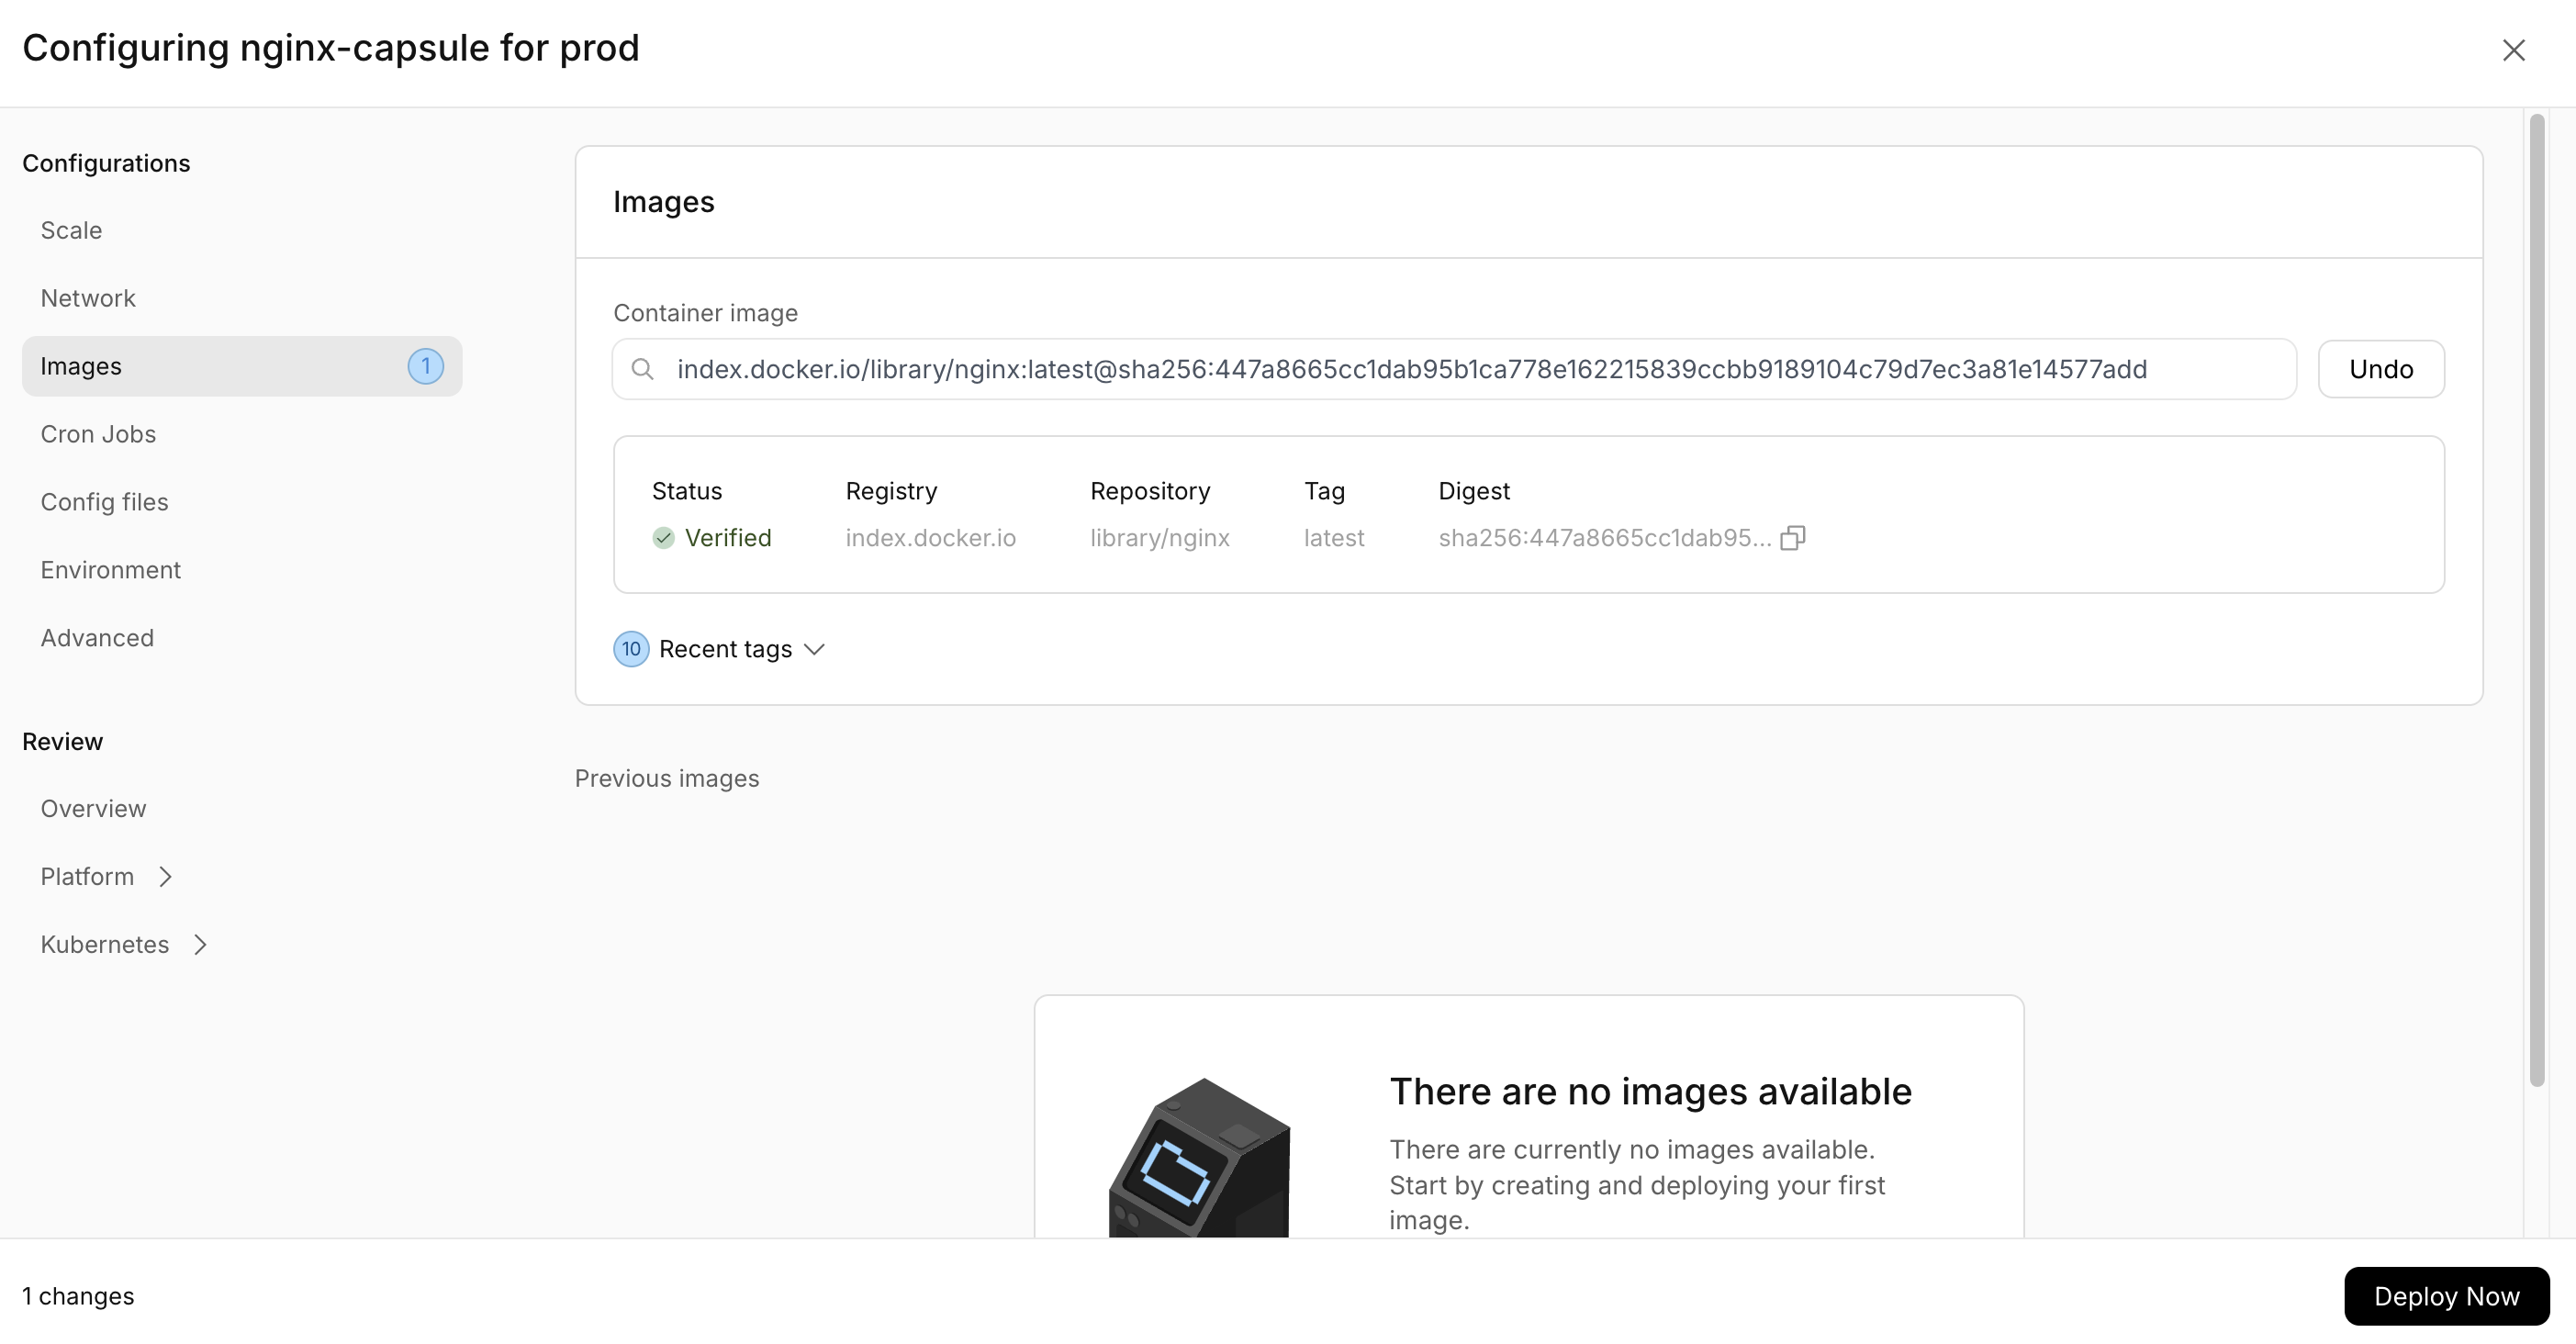
Note that if you are on an arm chip, you should the arm version of the image, 'arm64v8/nginx:latest'.
Using the CLI this will add the nginx image to the capsule, and immediately deploy it in a rollout,
for which we can follow the progress in the terminal.
Using the dashboard, you press Deploy Now, and you can then see the status in the Capsule Overview Page.
If you wish to dive deeper in the the status of the capsule, you can run:
- CLI
- Dashboard
rig capsule status nginx-capsule -v
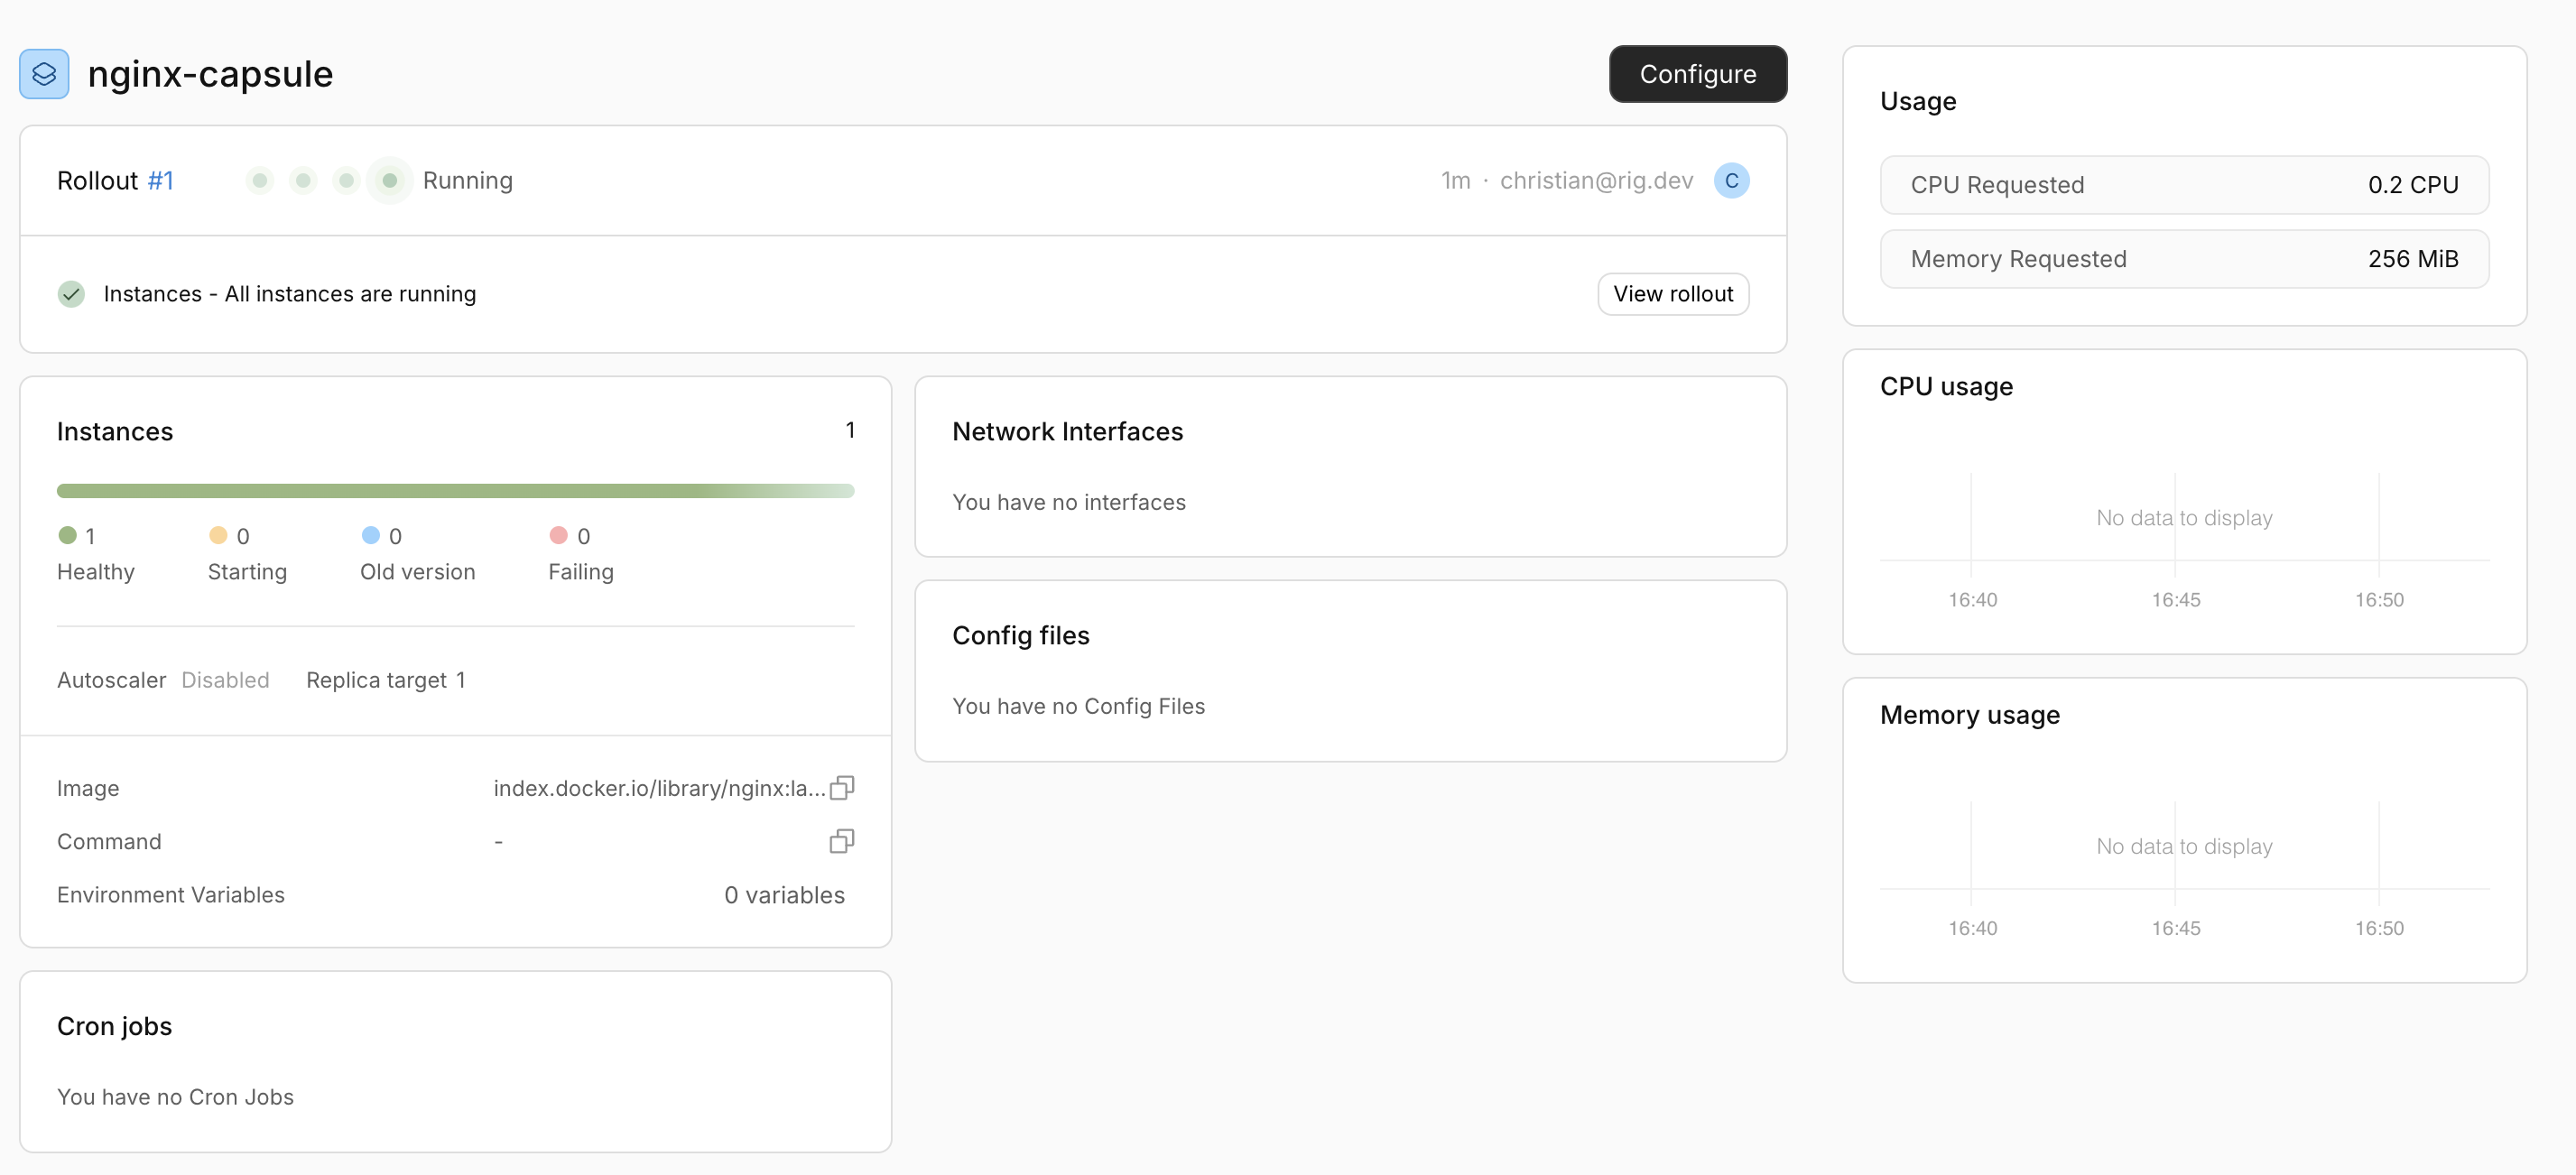
which will give you a detailed overview of the capsule and all its running resources.
Scale the capsule
Now that we have a running capsule, we can scale for example scaling the number of replicas.
- CLI
- Dashboard
rig deploy nginx-capsule --replicas 3
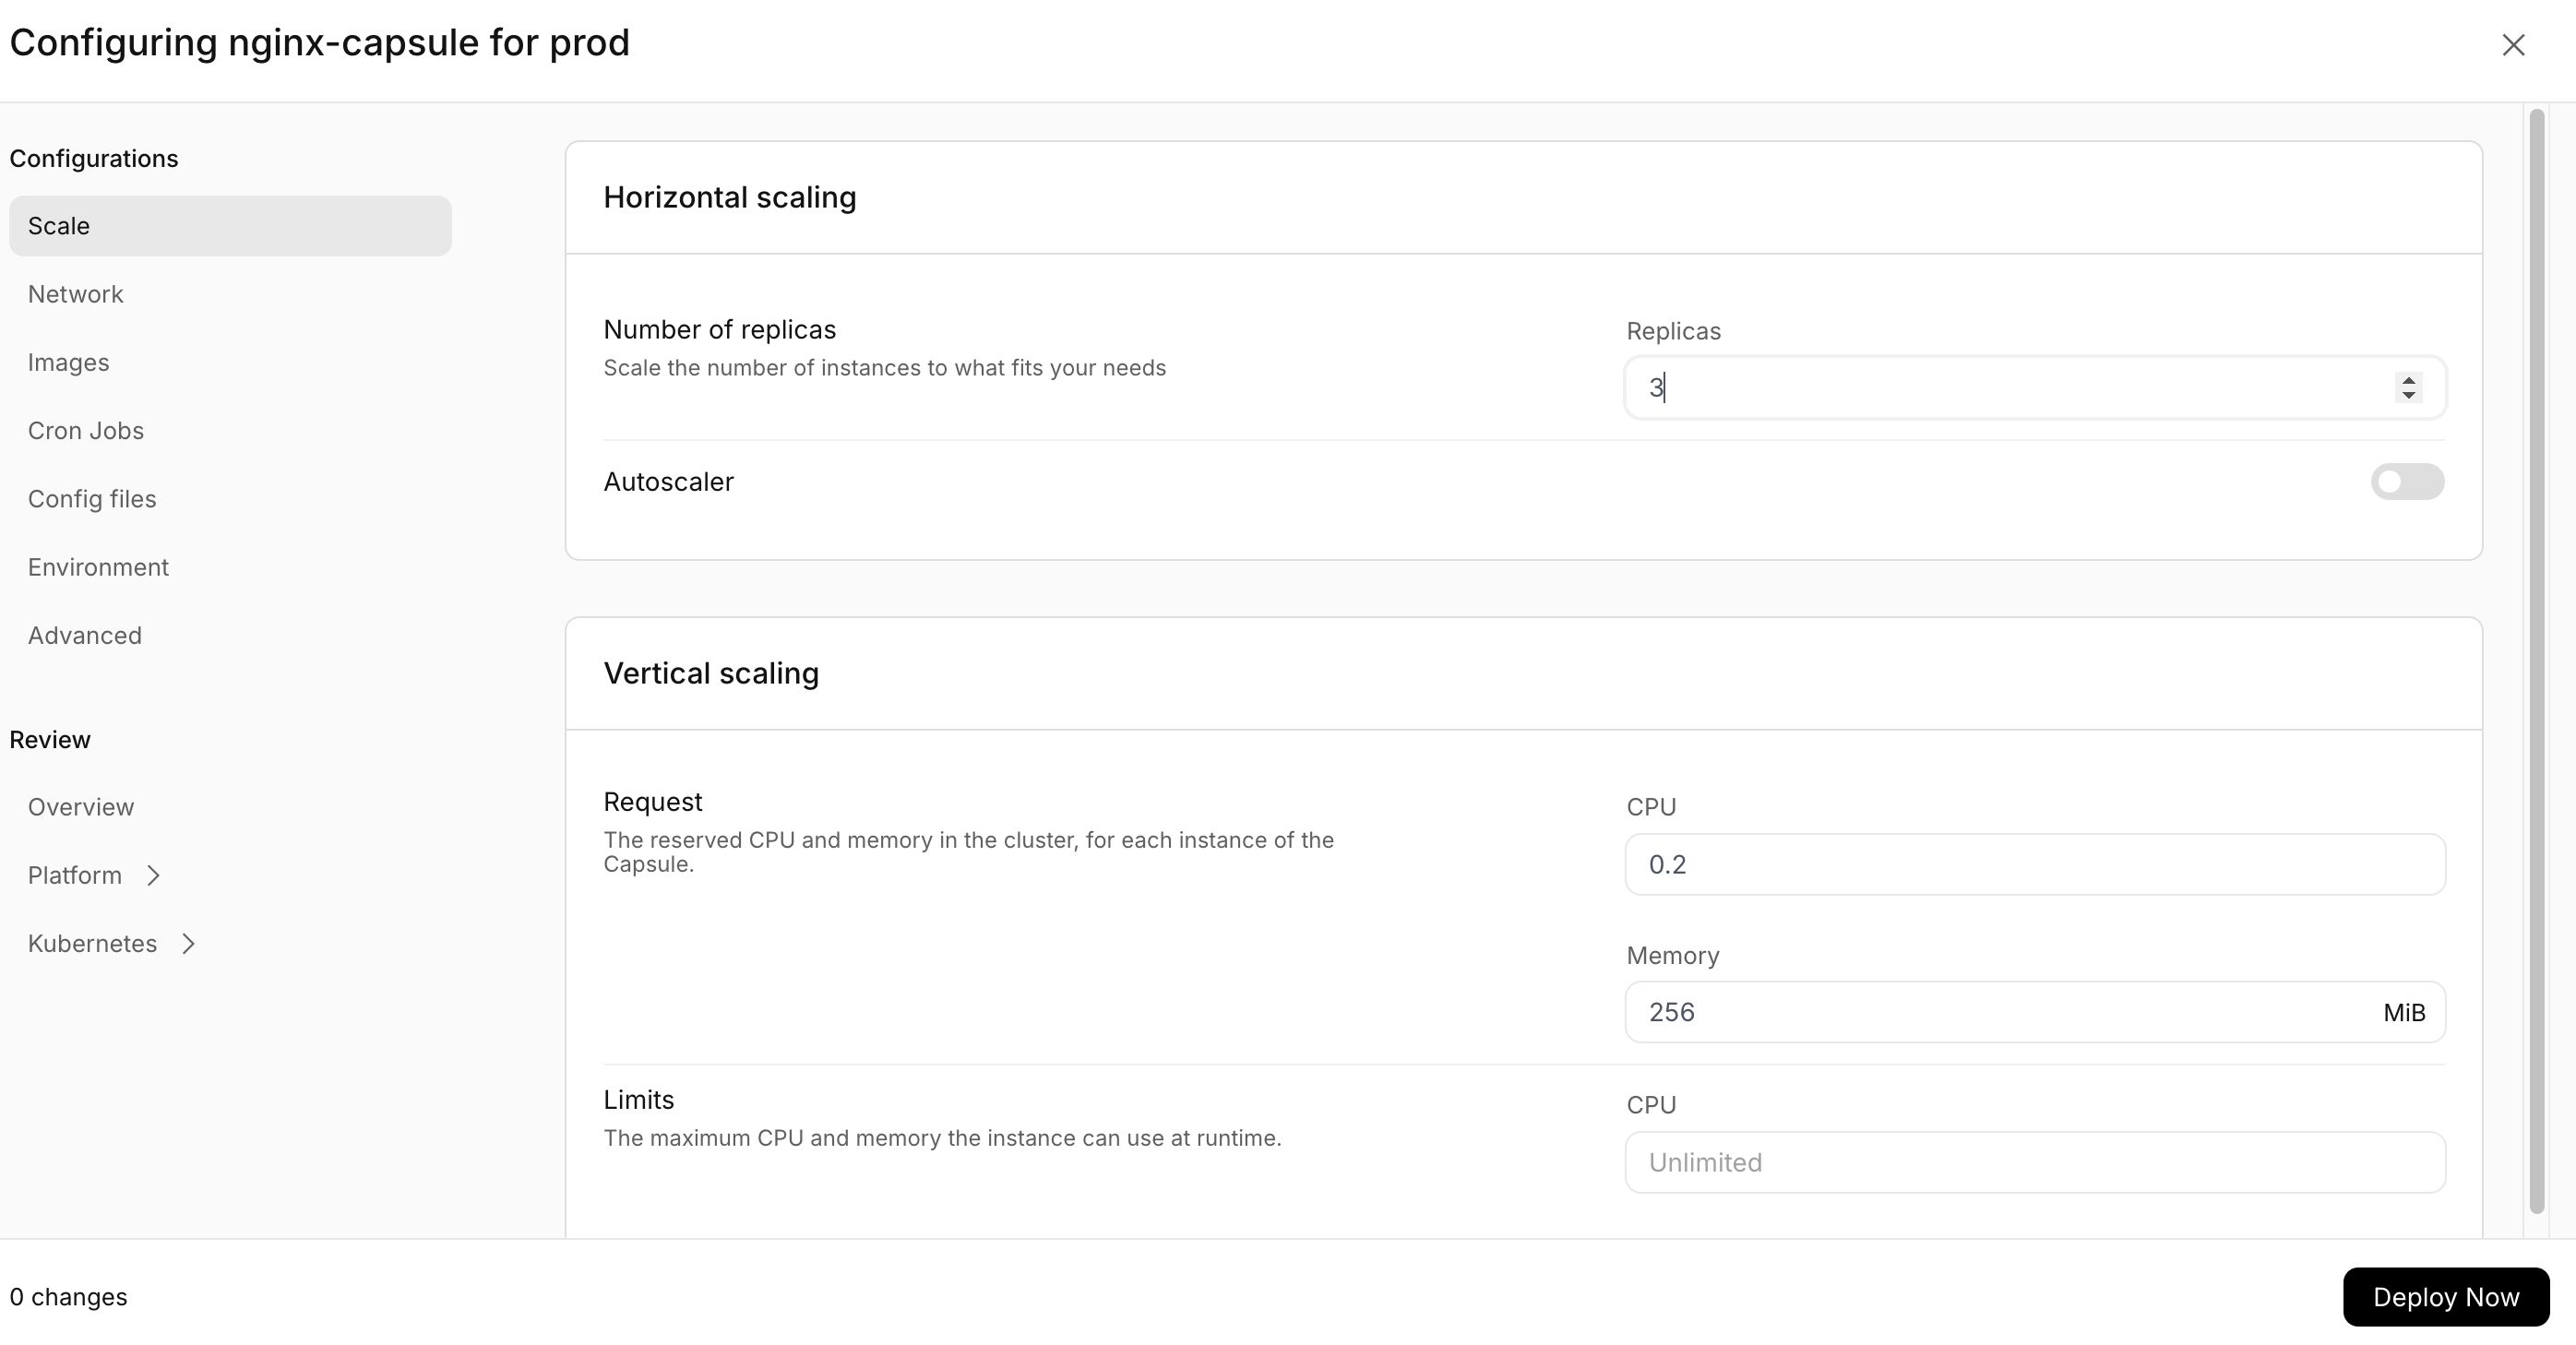
This will create a new rollout with the updated number of replicas. In order to verify this, you can run the previous status command or navigate to the capsule overview to see the new changes reflected in the capsule status.
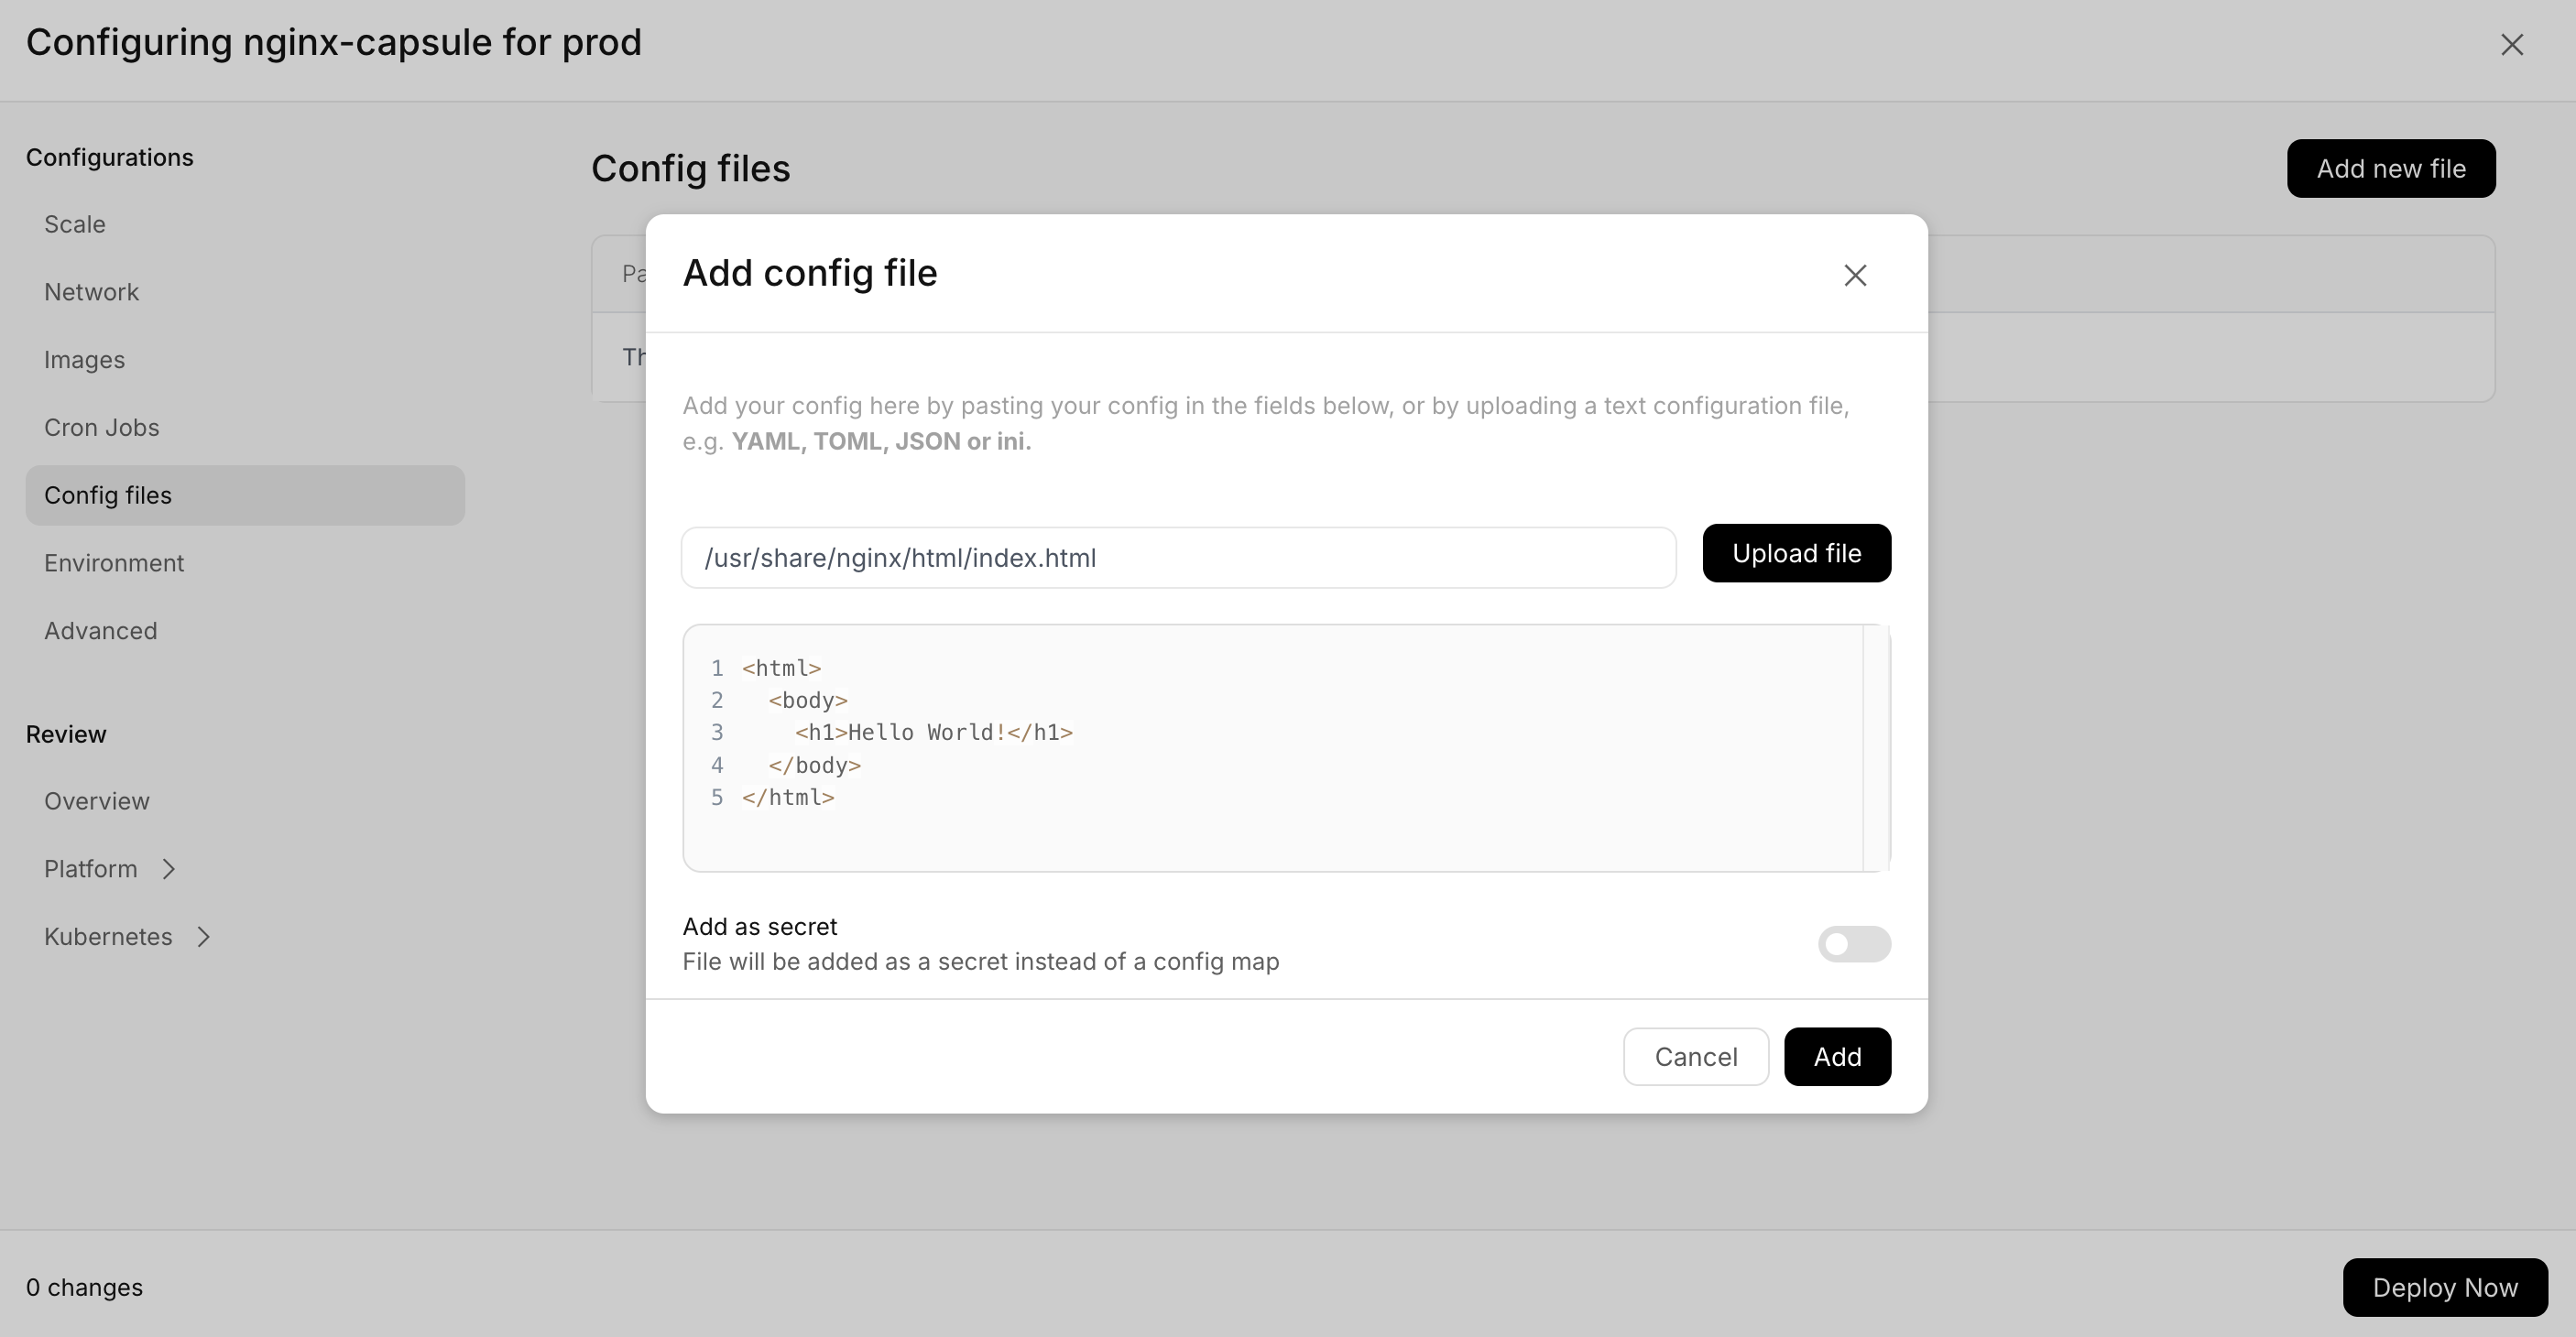
Set Static Content
Instead of the default content, we can mount a config file in the capsule. In the dashboard, you can directly input the content,
whereas in the CLI, this is done by creating an index.html file with some content, for example:
<html>
  <body>
    <h1>Hello World!</h1>
  </body>
</html>
- CLI
- Dashboard
rig deploy nginx-capsule --set-config-file path=/usr/share/nginx/html/index.html,src=index.html
Configure the network
In order for the Nginx server to receive traffic, we need to configure the network. Again in the dashboard, this is directly input,
whereas in the CLI this is done by creating a network.yaml file with the following content:
name: http
port: 80
and then running the following command:
- CLI
- Dashboard
rig deploy nginx-capsule --set-network-interface network.yaml
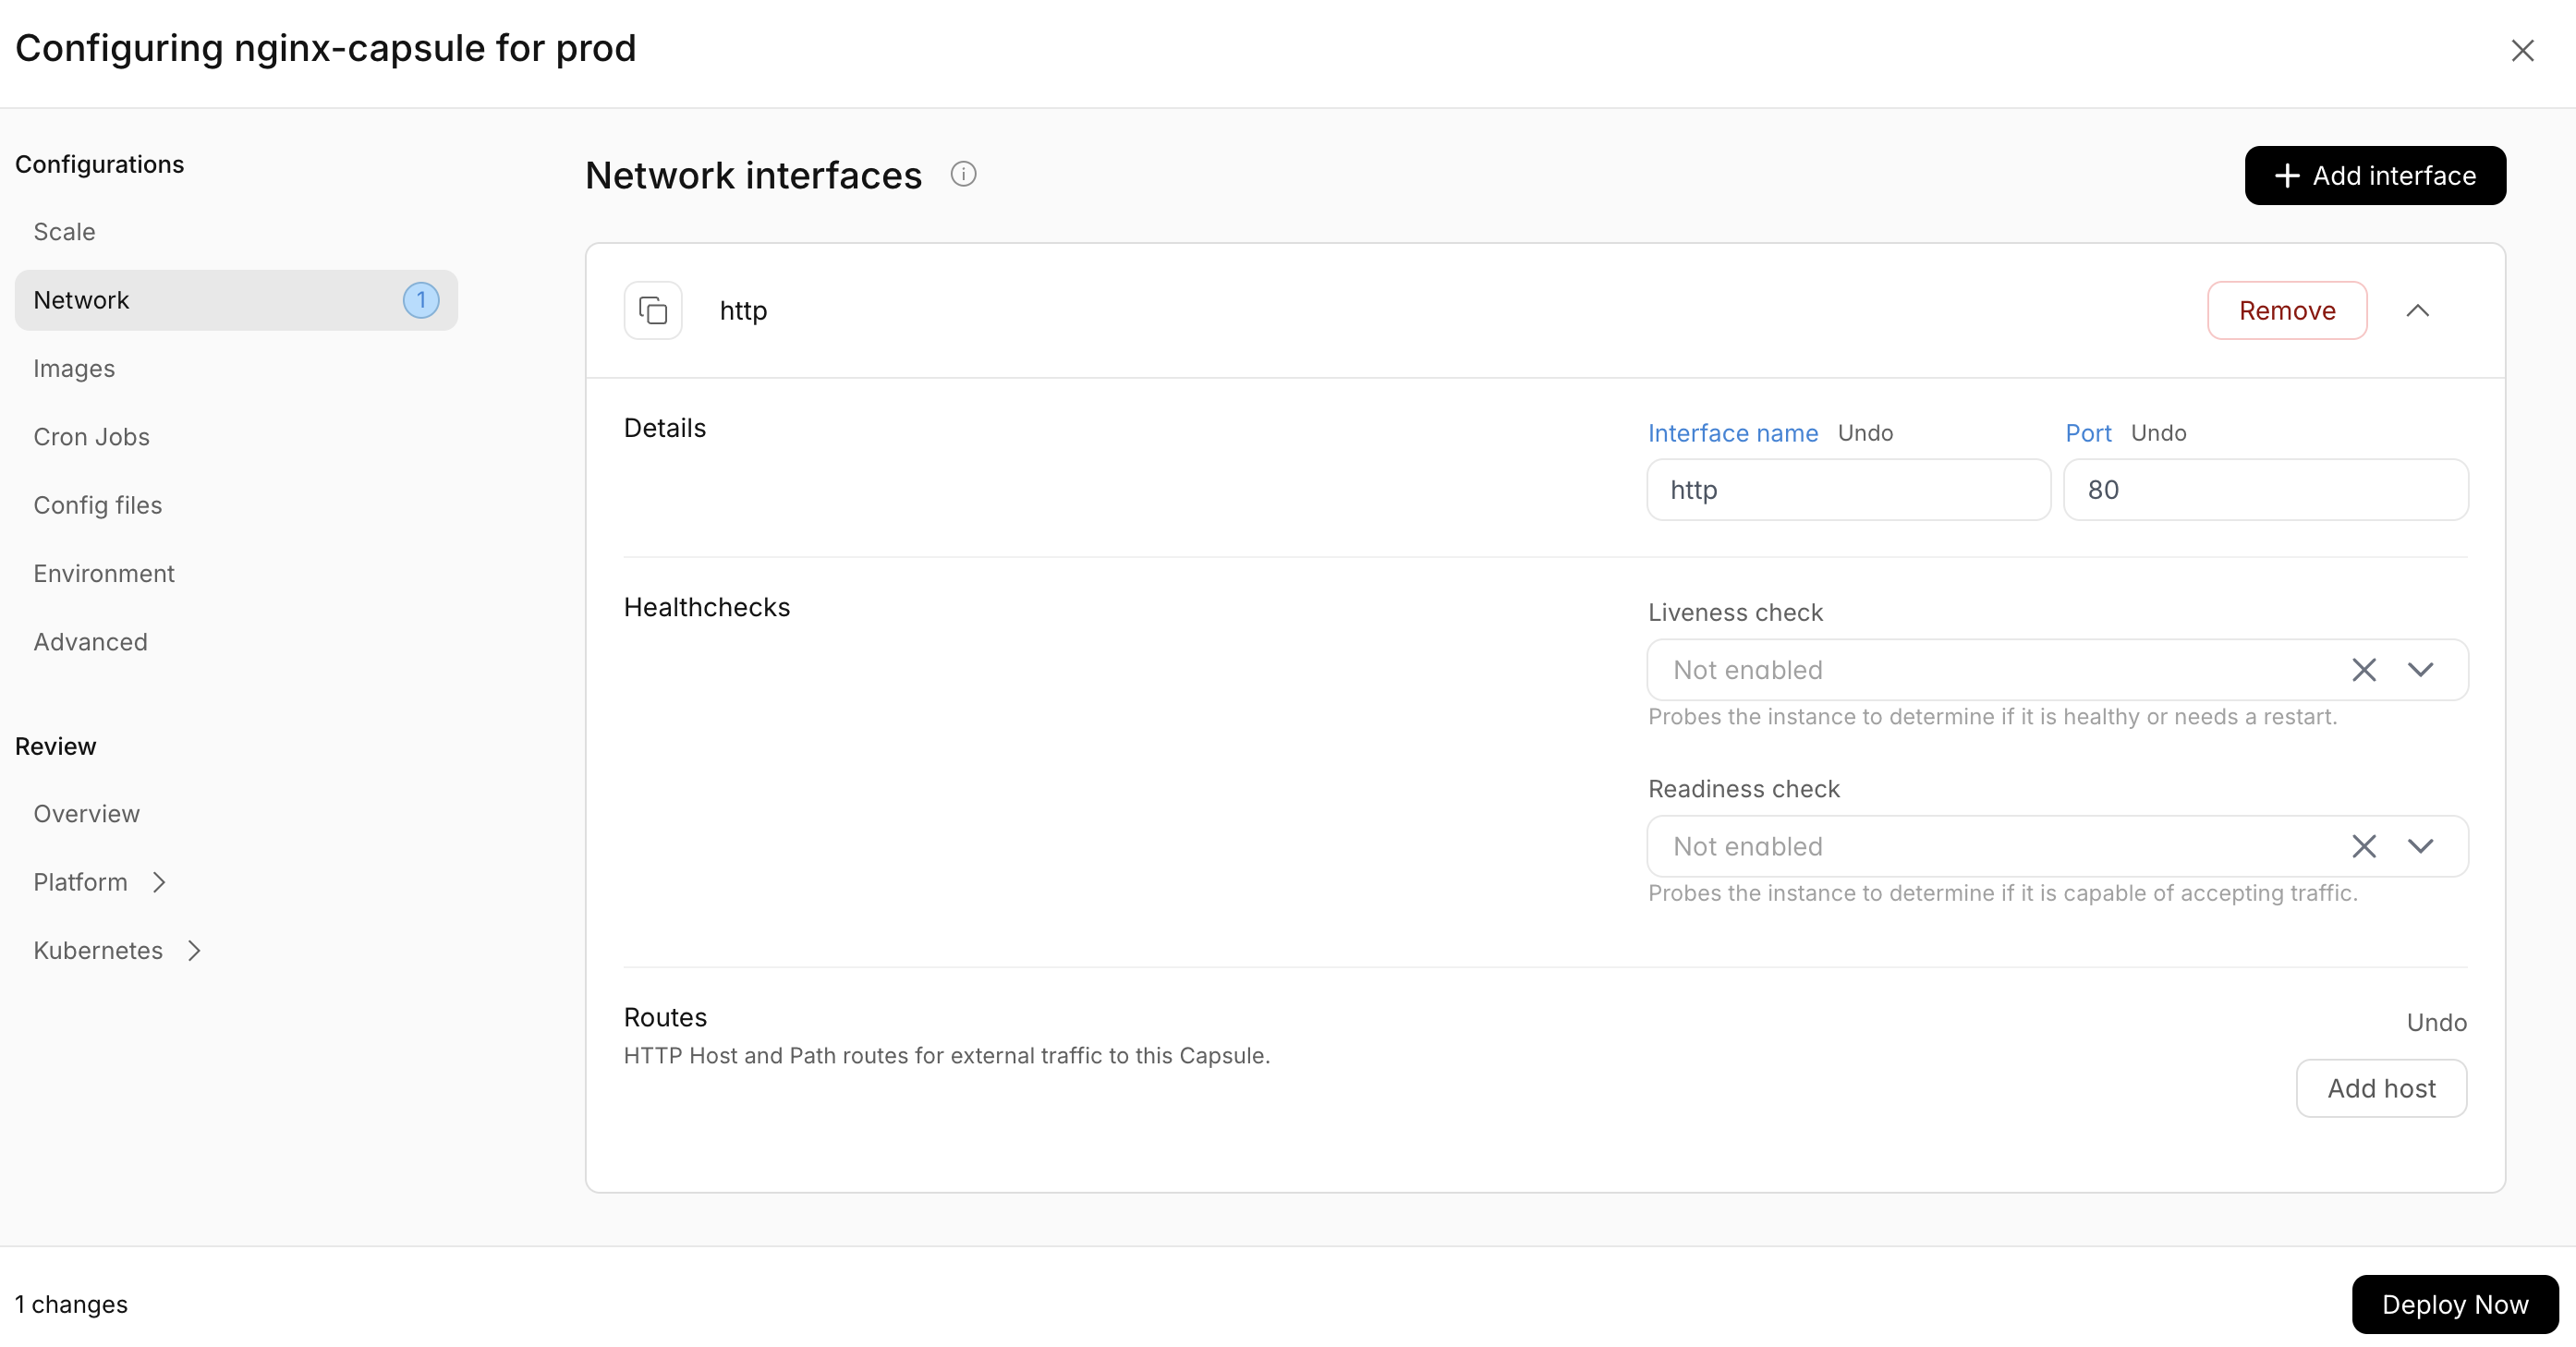
This will create a new rollout with the updated network configuration.
Access the Nginx server
Now, the capsule nginx server can only receive traffic from inside the cluster. We can however easily port-forward. This can only be done using the rig-cli:
rig capsule port-forward nginx-capsule 8080:http
Now open your favorite browser and navigate to http://localhost:8080 to see the Nginx server running. Well done, you have created, deployed and exposed your first capsule using Rig! 🎉
Shortcut
The above guide executed every step of the process in each command explicitly. All the flags, can however be combined, and if you deploy to a non-existing capsule, the capsule will be created automatically. This means that the process above can be shortened to:
rig deploy nginx-capsule -i nginx -r 3 --set-network-interface network.yaml --set-config-file path=/usr/share/nginx/html/index.html,src=index.html
Which will create a new capsule, add the image, scale it to 3 replicas, set the network interface and mount the config file.
Naturally, in the dashboard, you can also do all the configuration in one go.